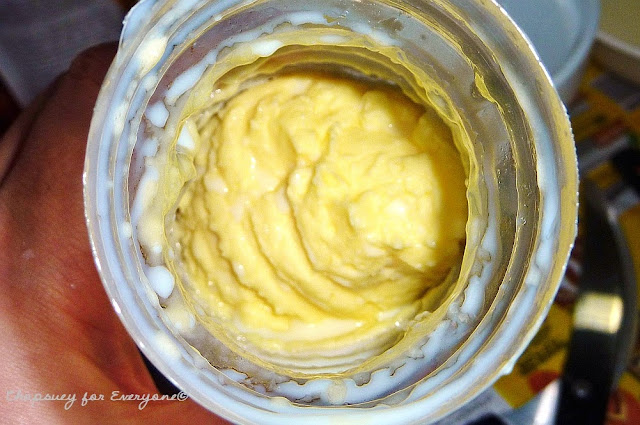
I did not want to try again!
But then I saw this video...
And I raced to the nearest supermarket and a 500ml bottle of water. I still had some fresh cream in the fridge and started "culturing" the cream, because I wanted cultured butter. I followed the instructions in the book Kitchen Creamery, page 55-56)
After 24 hours, I poured 250 ml of cultured cream in the (clean) water bottle. Then I shook the bottle for about 10 to 15 minutes (no way I could do it in a minute, the guy in the video has serious muscle, I have serious fat). About 3 minutes into shaking, I started to doubt myself (the little girl told me I looked really funny); it seemed that there was no activity within the bottle even as I shook it as hard as I could (which was nowhere near the guy in the video!). I changed tactics and started smacking the bottle against the kitchen table to dislodge the contents which seemed to be sticking to the inside wall of the bottle. After a while I heard sloshing!!!! And I could see a solid mass separated from what looked like milk. I drained the (real) buttermilk.
After most of the buttermilk was drained (and I realize that the small opening of the water bottle was actually ideal for draining!), there was a definite mass of butter!
I cut the bottle open and reveled in my success!
I poured the butter into a fine mesh sieve to drain for a couple of minutes.
I wished I could get the bits of butter stuck to the sides of bottle out.
I used a coffee filter to pat the butter dry then moved it to a bowl for washing. I washed 7 times until the water looked clear.
The third washing shows that the water was still very cloudy.
The seventh wash where the water was rather clear.
I drained the water from the final washing and dried the butter with another coffee filter. Then I mixed in a pinch of Himalayan pink salt.
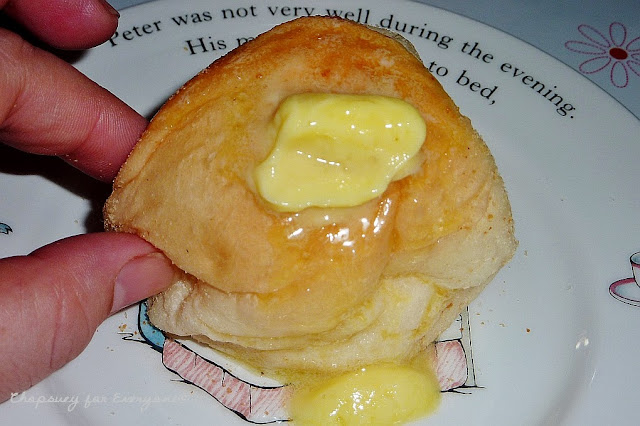
We had a taste of the butter smeared on a piece of bread... and I promptly promised never to buy butter (for eating) again! It was honestly the best butter I have ever tasted!
And I am perfectly happy with this water bottle technique. It yields about half a cup of butter, which suits us just fine. We are not really lovers of butter so a very small batch is ok. Especially since the butter has to be consumed within a week (fresh cream, no preservatives!). I seriously doubt we could finish a large amount of butter anyway (plus it's not really healthy to consume copious amounts of butter!)
A week later...
We finished the first batch of homemade butter in less than a week. And I'd been wanting to make another batch.
I got everything from the store a couple of days before... I even bought bottled water (just for the bottle, mind you!) The first step? Culturing the cream.
To my dismay, I discovered that someone took MY bottled water, drank the water, then threw the bottle away! @#!$#%$^%^ Hmpf. I didn't mind the water being gone, but I needed the bottle! Now what was I going to use? I couldn't go out of the house to buy bottle water again (not practical to waste gasoline just for a bottle!) so I checked all the cupboards and found a plastic tea/water bottle that I got as a gift last Christmas. Well, I was rather desperate and that was all I could find... so that was it.
So I went to work and shook... it took longer (about 8 more minutes) than the disposable water bottle but it was still doable. So I guess I will be using this from now on - at least I don't have to keep buy bottled water (and not for the water but for the container!) This particular bottle has a big opening but it also has a smaller one so it was actually perfect... drain the buttermilk through the small spout, open the lid and scrape everything into a sieve! I can get even the smaller bits stuck to the sides of the bottle.
This time I drained my butter directly in the sieve, without a coffee filter.
The butter was washed 7 times... the first wash - very cloudy -
The final wash (I specifically prepared a separate container) - really clear! -
Then we had merienda! Hot pandesal with fresh cultured butter slathered on!
Yummmmy!


No comments:
Post a Comment